Connecting Shopify to FLUF Connect
If you have a Shopify store, FLUF can help you crosslist to other marketplaces and keep everything in sync. Connection uses Shopify's Dev Dashboard to create an app with API access.
Prerequisites
- Active Shopify store on any plan
- Admin access to your Shopify account
- Your store's myshopify.com URL (e.g.,
yourstore.myshopify.com)
Connection Steps
Step 1: Create App on Dev Dashboard
- Log into your Shopify account
- Go to https://dev.shopify.com/dashboard/
- Click Create app
- Under "Start from Dev Dashboard", enter FLUF Connect as the app name
- Click Create
Step 2: Configure App Version & Scopes
- On the "Create a version" page, configure these fields:
- App URL:
https://fluf.io - Redirect URL:
https://fluf.io/connect/channels?shopify_success
- In the Access scopes section, paste all of these scopes:
read_customers,write_customers,write_draft_orders,read_draft_orders,write_inventory,read_inventory,write_locations,read_locations,read_orders,write_orders,read_products,write_products,read_publications,write_publications
- Click Release
Step 3: Get Credentials
- In the left sidebar, click Settings (under the App)
- Find and copy both:
- Client ID (e.g.,
23b77adaf428a3d8cec92d7c35913e40) - Client secret (starts with
shpss_)
Step 4: Connect in FLUF
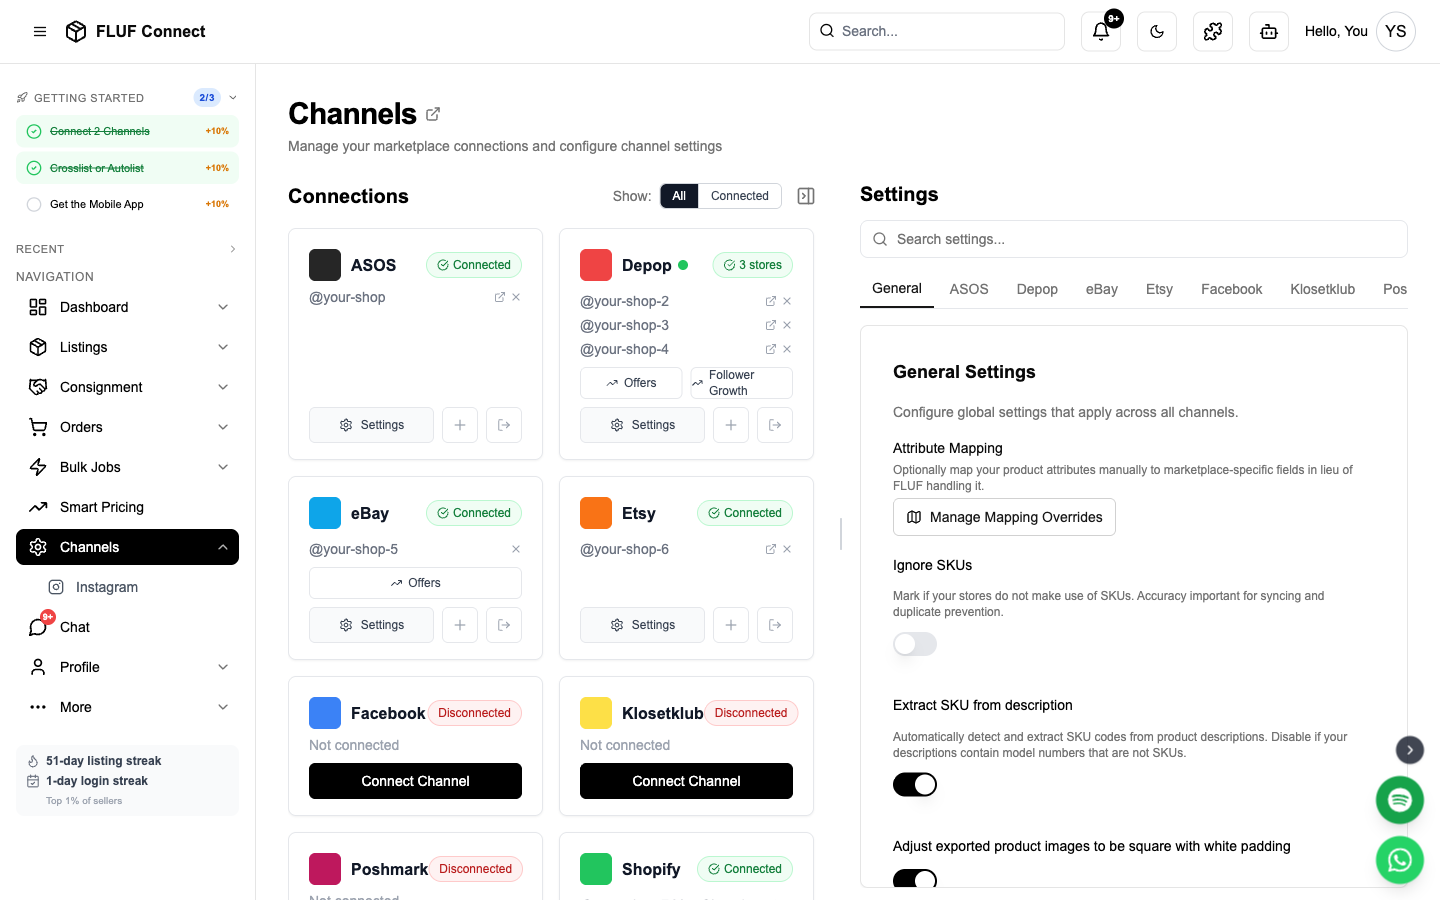
- Navigate to Connect → Channels
- Click Add Channel and select Shopify
- Enter your Shopify store name (e.g.,
yourstorefromyourstore.myshopify.com)
- This can be found via your Shopify admin → Settings → Domains
- Paste your Client ID
- Paste your Client Secret
- Click Connect
- You'll be redirected to Shopify to authorize the connection
- After authorizing, you'll return to FLUF and your Shopify channel card appears on the Channels page
What Happens After Connecting
- ✅ FLUF verifies your API access token and scopes
- ✅ Your existing Shopify products are imported (may take 5-15 minutes for large inventories)
- ✅ Webhooks are registered for real-time sync
- ✅ You can now crosslist Shopify products to other marketplaces
- ✅ Sales across all channels sync inventory back to Shopify
Webhooks Registered
FLUF sets up the following webhooks for real-time sync:
- Product updates — When you edit products in Shopify
- Inventory changes — When inventory levels change
- New orders — When orders are placed on Shopify
- Order cancellations — When orders are cancelled
- Fulfillment updates — When orders are fulfilled
Inventory Locations
- Shopify supports multiple inventory locations
- FLUF syncs with your primary location by default
- If you have multiple locations, configure which location to sync in Channel Settings
- Changes made in FLUF update your selected location only
Product Variants
- Shopify variants are fully supported
- Each size/color variant can be crosslisted individually
- Variant options (size, color) map automatically to marketplace-specific fields
- Inventory syncs at the variant level (not just product level)
Collections
- You can filter which Shopify collections sync to FLUF
- Useful for separating:
- Wholesale vs. retail inventory
- Dropshipping vs. in-stock products
- Private collections not for crosslisting
- Configure collection filters in Channel Settings
After Connecting
Next steps to start crosslisting:
- View synced products — See your Shopify inventory in FLUF
- Create crosslistings — List Shopify products on eBay, Depop, Vinted
- Manage orders — Centralize fulfillment across Shopify and marketplaces
- View analytics — Compare Shopify performance vs. other channels
Channel Settings
Once connected, you can configure Shopify-specific settings in Channels → Shopify → Settings.
Product Export
| Setting | Description |
|---|---|
| Add SKU to description | When exporting Shopify products to other channels, optionally add the SKU to the description. Options: Off, Add to Front, Add to Back. Useful for tracking products on marketplaces. |
| Create Shopify variants from size and colour | When enabled, new Shopify listings use saved size and colour details as variant options. Turn it off if you prefer single-click product listings. |
Order Management
| Setting | Description |
|---|---|
| Manage all channels' orders on Shopify | When enabled, orders from Depop, eBay, Vinted, and other channels are created as draft orders in Shopify. Fulfil and refund all orders from your Shopify dashboard. See Manage All Orders on Shopify for a full walkthrough. |
Order Alerts
| Setting | Description |
|---|---|
| Overdue dispatch threshold | Get alerts when Shopify orders are unshipped after X days. Set to 0 to disable. |
Per-Product Vinted Image Override
If Vinted rejects your stock photos, you can show different images on Vinted without changing what your Shopify storefront displays.
- In Shopify admin, go to Settings → Custom data → Products → Add definition.
- Name the metafield Vinted images, namespace and key
custom.vinted_images, and choose either:
- File (set to "List of values") — recommended. Lets you upload images directly in Shopify and pick them per product.
- URL (set to "List of values") — if you'd rather host images elsewhere and paste URLs.
- Open any product, scroll to the Vinted images field, and add your Vinted-friendly photos in the order you want them on Vinted.
- The next time FLUF syncs that product, your Vinted listings (auto-relists, manual crosslists) will use those photos instead of the Shopify product images. Clear the field to revert to your normal Shopify images.
The override only affects Vinted — Depop, eBay, Etsy and others continue to use your normal Shopify product photos. iPhone HEIC uploads work — Shopify converts them to a Vinted-compatible format automatically.
Troubleshooting
"Invalid client secret" error?
- Verify you copied the entire client secret from Settings
- Make sure you didn't include extra spaces when pasting
- Check that the secret wasn't truncated
- If lost, you can view the client secret again in the app's Settings page
"Missing required scopes" error?
- Go back to your app on dev.shopify.com/dashboard/
- Create a new version with all required scopes (see Step 2)
- Click Release to apply the new scopes
- Try connecting again in FLUF
Products not importing?
- Large inventories take 5-15 minutes to import
- Check Channels for import progress
- Ensure products are published to "Online Store" sales channel in Shopify
- Draft products are not imported (must be active)
Webhooks not working?
- Verify your Shopify plan supports webhooks (all paid plans do)
- Check that the FLUF app is still installed in Shopify
- Webhooks are automatically registered when you connect
- Contact support if real-time sync isn't working
Need to reconnect?
- Go to Channels
- Click Disconnect on your Shopify card
- In Shopify admin, go to Settings → Apps and sales channels → Develop apps
- Delete the old "FLUF Connect" app
- Follow Steps 1-5 above to create a fresh connection
Security Notes
- Access tokens are encrypted and securely stored in FLUF's database
- Tokens are never shared with third parties
- You can revoke access anytime by uninstalling the app in Shopify
- FLUF only requests the minimum scopes needed for crosslisting
- API calls are logged for audit purposes
Connect More Channels
Maximize your reach by connecting additional marketplaces at Channels:
- eBay — OAuth authentication, instant sync, 180M buyers
- Depop — Chrome Extension or Magic Link, Gen-Z favorite
- Vinted — Chrome Extension, European resale leader