Running Multiple Stores on the Same Marketplace
If you run more than one store on a marketplace — for example, two separate Depop profiles, two Vinted wardrobes, or two eBay accounts — you can connect both to FLUF and manage them entirely independently: separate crosslisting, separate auto-listing rules, separate orders, and a global store switcher to filter your entire dashboard to one store at a time.
Which Channels Support Multiple Accounts
All channels support multiple connected accounts. You can connect as many stores as you need on any platform.
Chrome Extension channels (Depop, Vinted, Facebook Marketplace) — connect each account from a separate Chrome profile (see below).
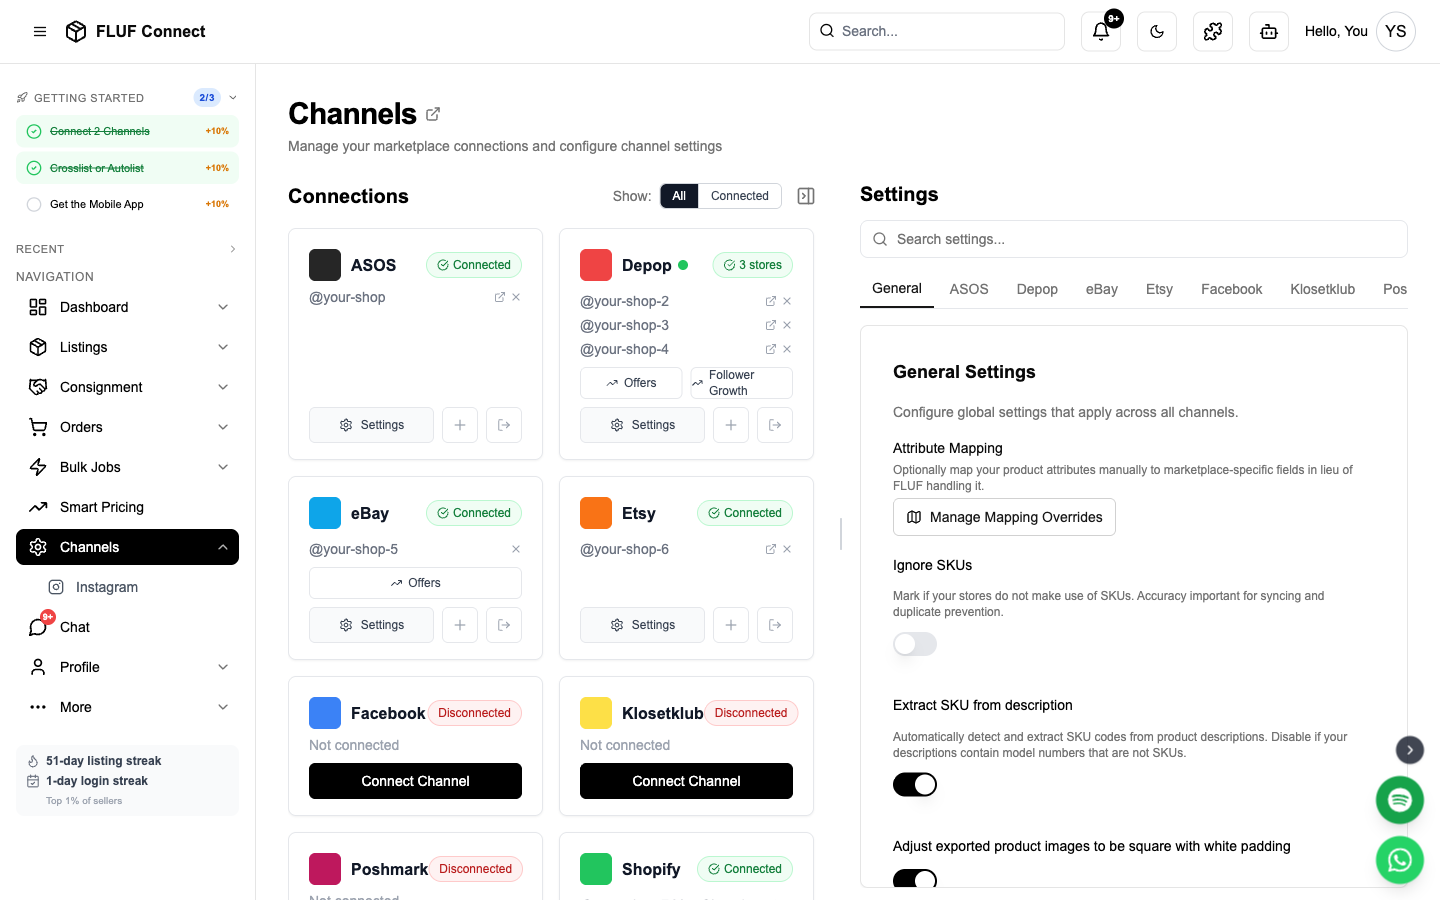
Other channels (eBay, Etsy, Shopify, Yaga, ASOS, Temu) — just connect each account through the Channels page like normal; no Chrome profile setup needed.
Connecting a Second Account
Chrome Extension channels (Depop, Vinted, Facebook)
Each additional account requires a separate Chrome profile:
- Open Chrome → click the profile avatar (top-right) → Add → create a new Chrome profile
- In the new profile, install the FLUF Utility Extension from the Chrome Web Store
- Log into Depop, Vinted, or Facebook in that profile
- Go to Channels and connect the account
The new account appears alongside your first one on the Channels page, labelled with its @username.
Why a separate Chrome profile? Each Chrome profile is its own workspace, so each one stays signed into a different account. You cannot run two accounts from the same browser window.
OAuth / API-key channels (eBay, Etsy, Shopify, Yaga, ASOS, Temu)
No special browser setup needed — just connect the second account through the standard flow:
- Go to Channels
- Click Add Channel and select the marketplace
- Authorise or enter the credentials for the second account
- The new account is added alongside your existing one on the Channels page
Store Switcher
Once you have multiple accounts connected, a store selector appears in the sidebar above the navigation menu.
- All Stores (default) — aggregated view across everything you've connected
- Select a specific store — every page (Listings, Orders, Dashboard, Sync History) instantly filters to show only that store's data
The selection persists as you navigate between pages. Switch back to "All Stores" at any time to see the combined view.
Crosslisting to a Specific Account
When you have multiple accounts on the same channel, each store appears as a separate destination in the crosslisting panel.
- Select the listings you want to crosslist
- In the crosslist panel, you'll see each account listed separately — for example:
- Depop · @gosixl
- Depop · @gtgo9
- Select the store(s) you want to list on and crosslist as normal
You can select one, both, or any combination across channels.
Auto-Listing Rules Per Store
When setting up an auto-listing rule, each connected store appears as a separate destination option — labelled with its @username so you always know which one you're selecting.
Example setup:
- Shopify → Depop @gosixl — Women's items only
- Shopify → Depop @gtgo9 — Kids' items only
To create per-store rules:
- Go to Listings → Auto Listing
- Under Select Destination Channels, each store appears separately
- Add conditions (category, collection, tag, etc.) to filter which products go where
- Save — the rule is tied to that specific account
Daily auto-listing caps per store
Daily caps on the Channels page limit rule-based auto-listing only. They do not change your relisting limits.
If you have more than one account connected on a channel:
- Go to Channels
- Open the channel settings
- Use Settings for to choose the account
- Set that account's daily cap and save
Choose All accounts to edit the default cap used by accounts without their own override. To manage relisting limits, use Auto-Relisting.
Auto-Relisting Per Store
If you have multiple accounts on the same channel, the Auto-Relisting page now shows a separate card for each store. Every card has its own:
- Enable / disable toggle
- Daily relisting cap (based on that store's listing count)
- Active hours window
- Vinted: Vary Title, Vary Description, Shuffle Photos toggles
- Today / 7-day / 30-day relisted counts
This means you can run auto-relisting on one store while pausing it on another, or use different active hours per store.
Disconnecting One Account
To remove a single account without affecting your others:
- Go to Channels
- Find the account — each connected profile shows its
@usernamewith a green dot - Click the ✕ next to that username
- Confirm in the prompt
Your other accounts on that channel remain connected and unaffected.
To disconnect all accounts on a channel at once, click the Disconnect button on the channel card itself. You'll see a warning if you have multiple accounts connected.
Troubleshooting
The second account overwrote my first instead of adding it (Depop, Vinted, Facebook) Connect each account from a different Chrome profile — not the same window or tab. If they're in the same profile, the second login replaces the first.
Only one account shows after connecting both (Depop, Vinted, Facebook) Refresh the Channels page. If one is still missing, reconnect it from the Chrome profile where that account is logged in.
Both eBay/Etsy/Shopify accounts merged into one If you see only one of two accounts you connected, the second one may not have finished connecting. Try connecting it again from the Channels page.
Auto-listing rules aren't going to the right store Check your rules under Listings → Auto Listing — each rule shows the @username next to its destination. Rules created before you added a second account won't have a specific store assigned. Delete and recreate them to select the correct store.
The store switcher isn't appearing The switcher only shows when you have more than one connection across any channel. If you've just connected a second account and it's not showing, refresh the page.
See Also
- How to Connect Depop
- How to Connect Vinted
- Crosslist Your First Listing — autolisting rules per source
- Channels Overview